VulCode
Blog

InPost ShipX API step by step: shipment, label and statuses

You create a locker or courier shipment, wait for the offer to be paid, download the label and receive status changes by webhook. TypeScript code on Node.js, checked against the InPost documentation and sandbox.

VulCodeVulCode15 min read
InPost ShipX API step by step: shipment, label and statuses - VulCode
What you will buildTypeScript, 8 steps
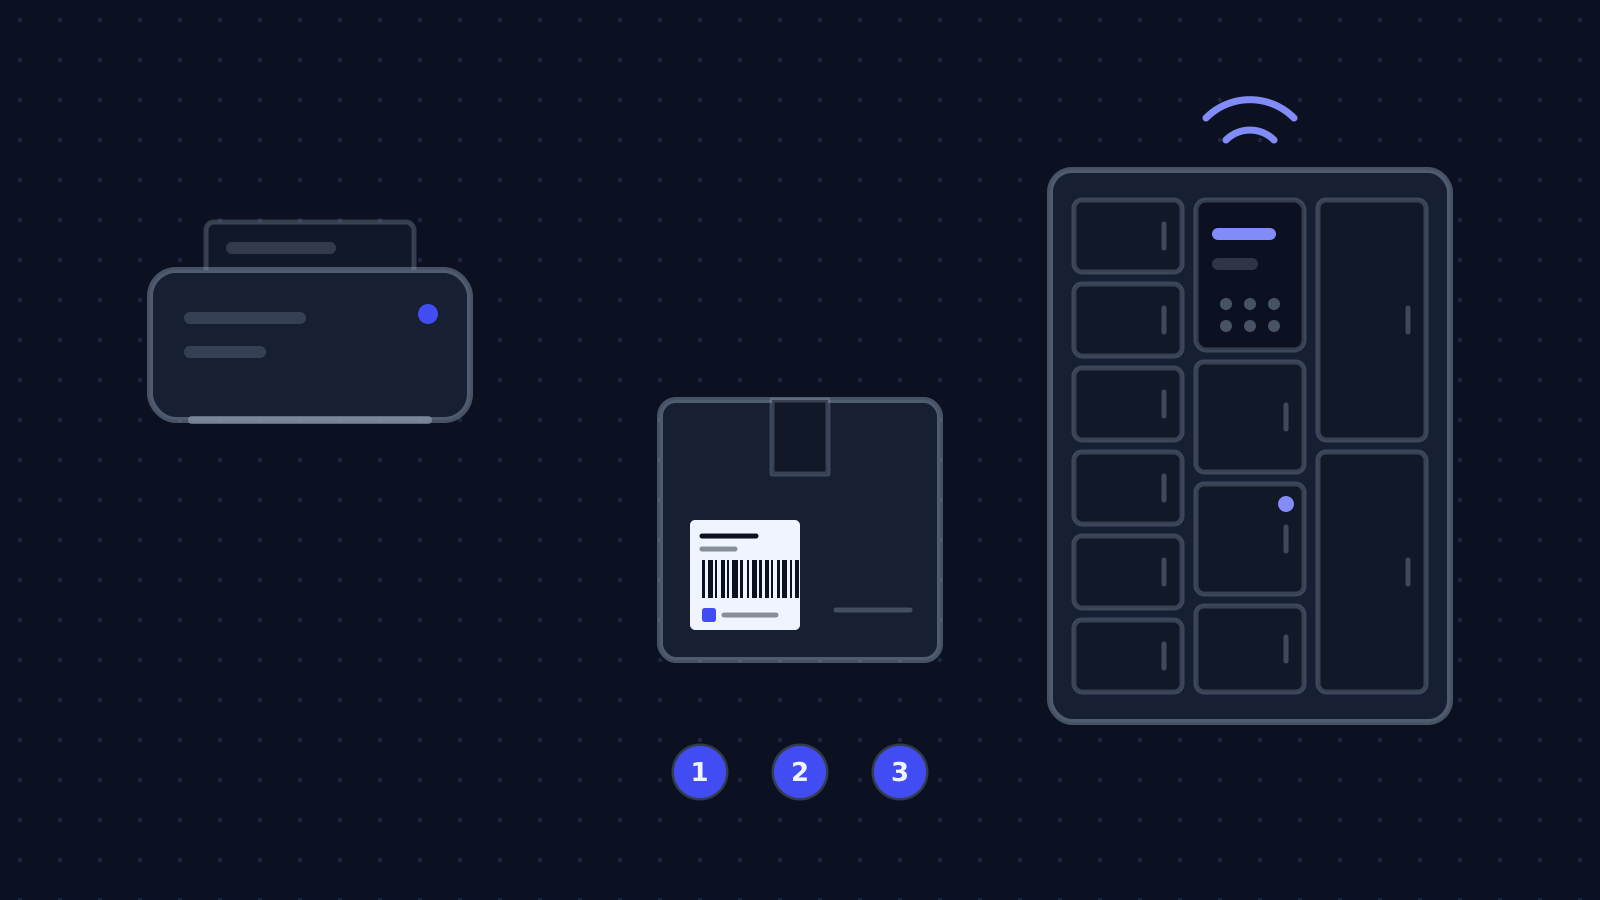
  1. ShipmentOrderA POST with the receiver, size and service.
  2. Offer and paymentShipXAsynchronous: created to confirmed.
  3. LabelWarehousePDF, ZPL or EPL from confirmed onwards.
  4. StatusesCustomerA webhook on every change.

The guide at a glance

An order in your store turns into an InPost shipment by itself, to a parcel locker or by courier. The warehouse gets a label ready to print, and the customer sees the parcel status without visiting the carrier's site.

InPost ShipX API

Group
Sales and shipping
Level
intermediate
Reading time
about 15 min
Code
TypeScript

Files: shipx.ts, webhook.ts, statusy.ts.

Steps
8 steps

8 of them with code or commands to copy.

Check
ShipX sandbox, Node.js and tsx

Address, request format and error handling confirmed without a token

Documentation
4 official documents

InPost ShipX: authorisation and environments; InPost ShipX: creating a shipment in the simplified mode; InPost ShipX: downloading labels; InPost ShipX: webhooks

From our code
Flaem

frozcore/src/store_integrations/webhooks.rs

Before you start

ShipX is asynchronous: after a shipment is created, InPost prepares offers, selects and pays the offer for the chosen service, and only then does the shipment reach confirmed and get a tracking number. Most integration bugs come from fetching the label before that happens.

What you need
InPost ShipX API
An account on the Parcel Manager sandbox
On sandbox-manager.paczkomaty.pl you create a separate account: production credentials do not work there. You generate the token and organisation ID under My account > API, after filling in all details, including invoice data.
Funds on the test account
A parcel locker shipment needs funds on the account. On the sandbox you top up virtually under Payments.
Node.js 18 or newer
The code uses the built-in fetch. We ran it on Node.js 22 with tsx. For the webhook any HTTP server will do; the example uses Express.
The recipient's locker code
For a locker shipment the customer picks a point, for example in the InPost map widget, and you pass its name in target_point.

Locker sizes (inpost_locker_standard)

TemplateDimensionsWeight and size
small8 x 38 x 64 cmup to 25 kg, size A
medium19 x 38 x 64 cmup to 25 kg, size B
large41 x 38 x 64 cmup to 25 kg, size C
xlarge50 x 50 x 80 cmup to 25 kg, size D, inpost_courier_c2c only

Step by step

8 steps. The window beside them shows the file of the step you are reading.

Write the API client

Every request carries the token in an Authorization: Bearer header. The sandbox is sandbox-api-shipx-pl.easypack24.net, production api-shipx-pl.easypack24.net. The X-User-Agent header is optional and helps InPost diagnose when you report a problem.

Check the organisation and its services

GET /v1/organizations/:id returns the name and the services available to your organisation. You can create shipments only in an organisation you belong to, and only for a service on that list.

Create a locker shipment

In simplified mode you send the service right away. A locker shipment needs the receiver's phone and email, a size template and the target locker in custom_attributes.target_point. sending_method says how you hand the parcel over: parcel_locker is a drop at a locker, dispatch_order is a courier pickup.

You do not have to give the sender: it defaults to the organisation. The response has status created and an empty tracking_number.

Or a courier shipment

A courier needs the receiver's address and a first and last name or a company name. Instead of a template you give the parcel dimensions and weight. With cash on delivery (cod), courier services also require insurance.

Wait until the shipment is paid

After creation InPost prepares offers, selects one and pays it in the background. A label can be fetched only for a shipment in confirmed or a later status. In code you poll the shipment; in production you are better off waiting for the shipment_confirmed webhook.

Note
only_choice_of_offer: true selects the offer without paying it. You then have to pay that shipment separately before the offer expires.

Download the label

GET /v1/shipments/:id/label returns a file: PDF, ZPL or EPL. Type normal or A6; for courier services you get A6 when no type is given. Several labels at once come from /v1/organizations/:id/shipments/labels, up to 100 shipments.

Receive status changes by webhook

You add the webhook address in the Parcel Manager under My account > API. It must answer 200 to GET. InPost sends shipment_confirmed, shipment_status_changed and offers_prepared events from 91.216.25.0/24, for both production and sandbox.

The webhook carries no signature. Restrict it to that address range and do not trust the body: after an event fetch the shipment from the API and store its status from there.

Show the customer a human status

GET /v1/statuses needs no token and returns every status with its name, a short title and a description, in Polish or English (lang=pl_PL or en_GB). Instead of translating names yourself, show the customer the title from this list.

Code windowstep 1 of 8
shipx.tsNew file, 19 lines
const API = process.env.SHIPX_URL ?? 'https://sandbox-api-shipx-pl.easypack24.net';const TOKEN = process.env.SHIPX_TOKEN ?? '';const ORG = process.env.SHIPX_ORG ?? ''; export async function shipx<T>(method: string, path: string, body?: unknown): Promise<T> {  const response = await fetch(`${API}${path}`, {    method,    headers: {      Authorization: `Bearer ${TOKEN}`,      'Content-Type': 'application/json',      'X-User-Agent': 'sklep-example',    },    body: body === undefined ? undefined : JSON.stringify(body),  });  if (!response.ok) {    throw new Error(`ShipX ${method} ${path}: ${response.status} ${await response.text()}`);  }  return response.json() as Promise<T>;}
shipx.tsChanged in the file: 4 lines
interface Organization { id: number; name: string; services: string[] } const org = await shipx<Organization>('GET', `/v1/organizations/${ORG}`);console.log(org.name, org.services);// ["inpost_locker_standard", "inpost_courier_standard", ...]
shipx.tsChanged in the file: 11 lines
interface Shipment { id: number; status: string; tracking_number: string | null } export const lockerShipment = (order: { email: string; phone: string; point: string; ref: string }) =>  shipx<Shipment>('POST', `/v1/organizations/${ORG}/shipments`, {    receiver: { email: order.email, phone: order.phone },    parcels: { template: 'small' },    custom_attributes: { target_point: order.point, sending_method: 'parcel_locker' },    service: 'inpost_locker_standard',    reference: order.ref,  }); const created = await lockerShipment({  email: 'klient@example.com', phone: '888000000', point: 'KRA010', ref: 'zamowienie-1042',});// { id: 12345, status: "created", tracking_number: null, ... }
shipx.tsChanged in the file: 17 lines
export const courierShipment = (order: CourierOrder) =>  shipx<Shipment>('POST', `/v1/organizations/${ORG}/shipments`, {    receiver: {      first_name: order.firstName,      last_name: order.lastName,      email: order.email,      phone: order.phone,      address: {        street: order.street,        building_number: order.building,        city: order.city,        post_code: order.postCode,        country_code: 'PL',      },    },    parcels: [{      dimensions: { length: '300', width: '200', height: '100', unit: 'mm' },      weight: { amount: '2', unit: 'kg' },    }],    service: 'inpost_courier_standard',    reference: order.ref,  });
shipx.tsChanged in the file: 6 lines
export async function waitForConfirmed(id: number): Promise<Shipment> {  for (let attempt = 0; attempt < 30; attempt++) {    const shipment = await shipx<Shipment>('GET', `/v1/shipments/${id}`);    if (shipment.status === 'confirmed' || shipment.tracking_number) return shipment;    await new Promise(resolve => setTimeout(resolve, 2000));  }  throw new Error(`Przesyłka ${id} nie została opłacona`);}
shipx.tsChanged in the file: 8 lines
import { writeFile } from 'node:fs/promises'; export async function label(id: number): Promise<Buffer> {  const response = await fetch(`${API}/v1/shipments/${id}/label?format=pdf&type=A6`, {    headers: { Authorization: `Bearer ${TOKEN}` },  });  if (!response.ok) throw new Error(`Etykieta ${id}: ${response.status} ${await response.text()}`);  return Buffer.from(await response.arrayBuffer());} const confirmed = await waitForConfirmed(created.id);await writeFile(`etykieta-${confirmed.tracking_number}.pdf`, await label(confirmed.id));
webhook.tsNew file, 15 lines
import express from 'express'; const app = express(); // InPost wymaga, żeby adres odpowiadał 200 na GET.app.get('/inpost/webhook', (_req, res) => res.sendStatus(200)); app.post('/inpost/webhook', express.json(), async (req, res) => {  res.sendStatus(200);  // odpowiedz od razu, przetwarzaj po  const { event, payload } = req.body as { event: string; payload: { shipment_id: number } };  if (event !== 'shipment_status_changed' && event !== 'shipment_confirmed') return;  // Webhook nie ma podpisu: traktuj go jak sygnał i pobierz przesyłkę z API.  const shipment = await shipx<Shipment>('GET', `/v1/shipments/${payload.shipment_id}`);  await saveShipmentStatus(shipment.id, shipment.status, shipment.tracking_number);});
statusy.tsNew file, 5 lines
const response = await fetch(`${API}/v1/statuses?lang=pl_PL`);  // bez tokenuconst { items } = await response.json() as { items: { name: string; title: string; description: string }[] };const titles = new Map(items.map(status => [status.name, status.title])); titles.get('ready_to_pickup');  // "Umieszczona w automacie Paczkomat (odbiorczym)."

Check that it works

We ran the client on the sandbox on 6 October 2026. The status list came back without a token with 53 entries, and creating a shipment without a token returned 401 with code token_invalid. That confirms the address, the request format and the error handling. With a token from the Parcel Manager you get a shipment in status created at this point.

terminal6 October 2026ShipX sandbox, Node.js and tsx
$ npx tsx shipx.ts
statuses 53
created: Przesyłka utworzona.
offers_prepared: Przygotowano oferty.
offer_selected: Oferta wybrana.
ShipX POST /v1/organizations/1/shipments: 401
{"error":"token_invalid","message":"Token is missing or invalid."}
Address, request format and error handling confirmed without a token
What the output lines mean
  1. lines 2The status list

    The status dictionary comes without a token and has 53 entries.

  2. lines 3-5The first shipment statuses

    created, offers_prepared and offer_selected: InPost prepares and picks an offer before the shipment reaches confirmed.

  3. lines 6-7A shipment without a token

    Without a token ShipX returns 401 with token_invalid. With a token from the Parcel Manager you get a shipment in status created here.

How you know it works on your side

  • GET /v1/organizations/:id returns your organisation and its services.
  • A new shipment has status created, and shortly after confirmed with a tracking_number.
  • The label downloads as a PDF only after confirmed.
  • The webhook answers 200 to GET and receives shipment_status_changed.

The errors you will meet

The same path as "What you will build" at the top of the page, with the places where the work stops most often. For each error: the symptom, the cause and what to do.

Where it stops and why

Shipment

Order

A POST with the receiver, size and service.

  • Stops here: 401 token_invalid

    No token, or a production token on the sandbox, or the other way round. What to do: The sandbox has a separate account and a separate token from sandbox-manager.paczkomaty.pl.

  • Stops here: Validation error on a courier shipment with COD

    No insurance, which courier services require with COD. What to do: Add insurance with an amount and currency.

Offer and payment

ShipX

Asynchronous: created to confirmed.

  • Stops here: A locker shipment fails on the sandbox

    No funds on the test account. What to do: Top up the account virtually under Payments.

Label

Warehouse

PDF, ZPL or EPL from confirmed onwards.

  • Stops here: invalid_action when downloading the label

    The shipment is not paid yet; its status is earlier than confirmed. What to do: Wait for confirmed or for the shipment_confirmed webhook.

Statuses

Customer

A webhook on every change.

  • Stops here: InPost will not save the webhook address

    The address does not answer 200 to GET or cannot be reached. What to do: Add a GET handler that returns 200 and check the address works from the internet.

How we do it in our own code

The same topic in code we maintain: Flaem.

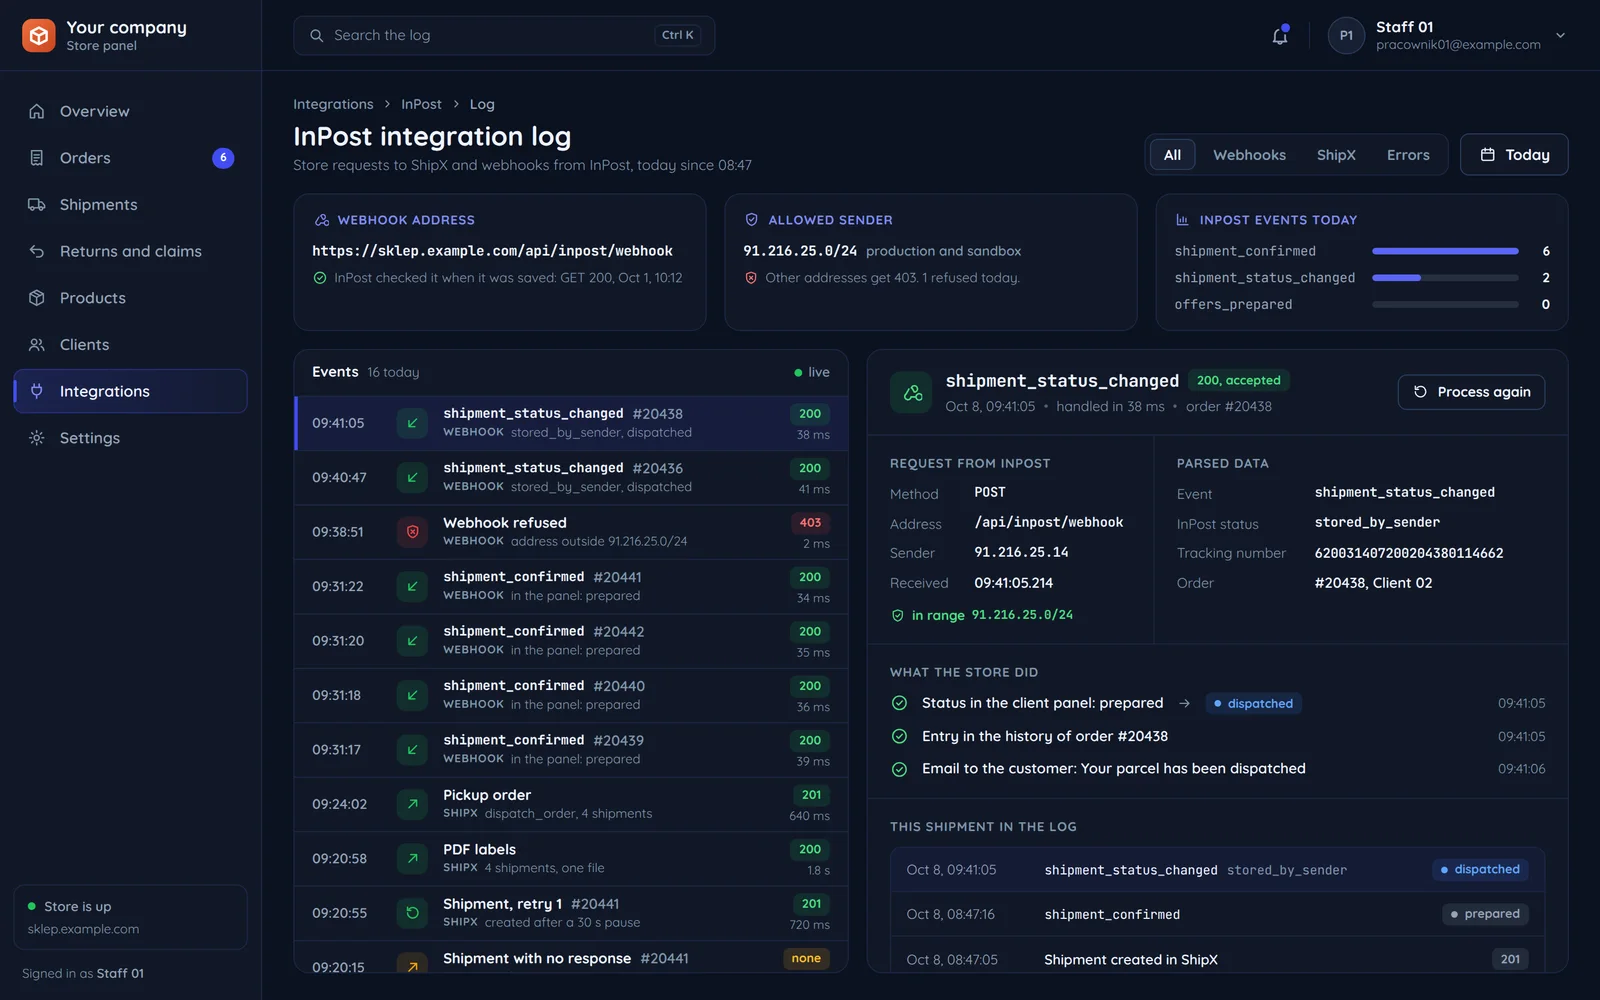
The InPost integration log with webhooks and the allowed sender address pool

A webhook is a signal, not proof

In Flaem we accept webhooks from the Tebex and CraftingStore stores. Both sign the body with HMAC-SHA256, so we first compute the expected signature and compare it in constant time before anything reaches the queue.

InPost does not sign its webhooks, so this function cannot be used there. The same principle works another way: restrict the endpoint to the 91.216.25.0/24 range and take the shipment's state from the API, not from the event body.

frozcore/src/store_integrations/webhooks.rsrust, 20 lines
pub fn verify(    provider: &str,    secret: &str,    body: &[u8],    presented: &str,) -> Result<(), WebhookError> {    let expected = expected_signature(provider, secret, body);    let presented = presented.trim().to_ascii_lowercase();    if expected.len() == presented.len()        && expected            .bytes()            .zip(presented.bytes())            .fold(0u8, |acc, (a, b)| acc | (a ^ b))            == 0    {        Ok(())    } else {        Err(WebhookError::BadSignature)    }}

Webhook signature verification in Flaem, compared in constant time.

Related pages and sources

The service, tools and terms this guide leads to, and more guides.

Official documentation

Rather have it done by someone who has done it before?

Describe your system. We reply within an hour with an integration plan and a quote.

Questions