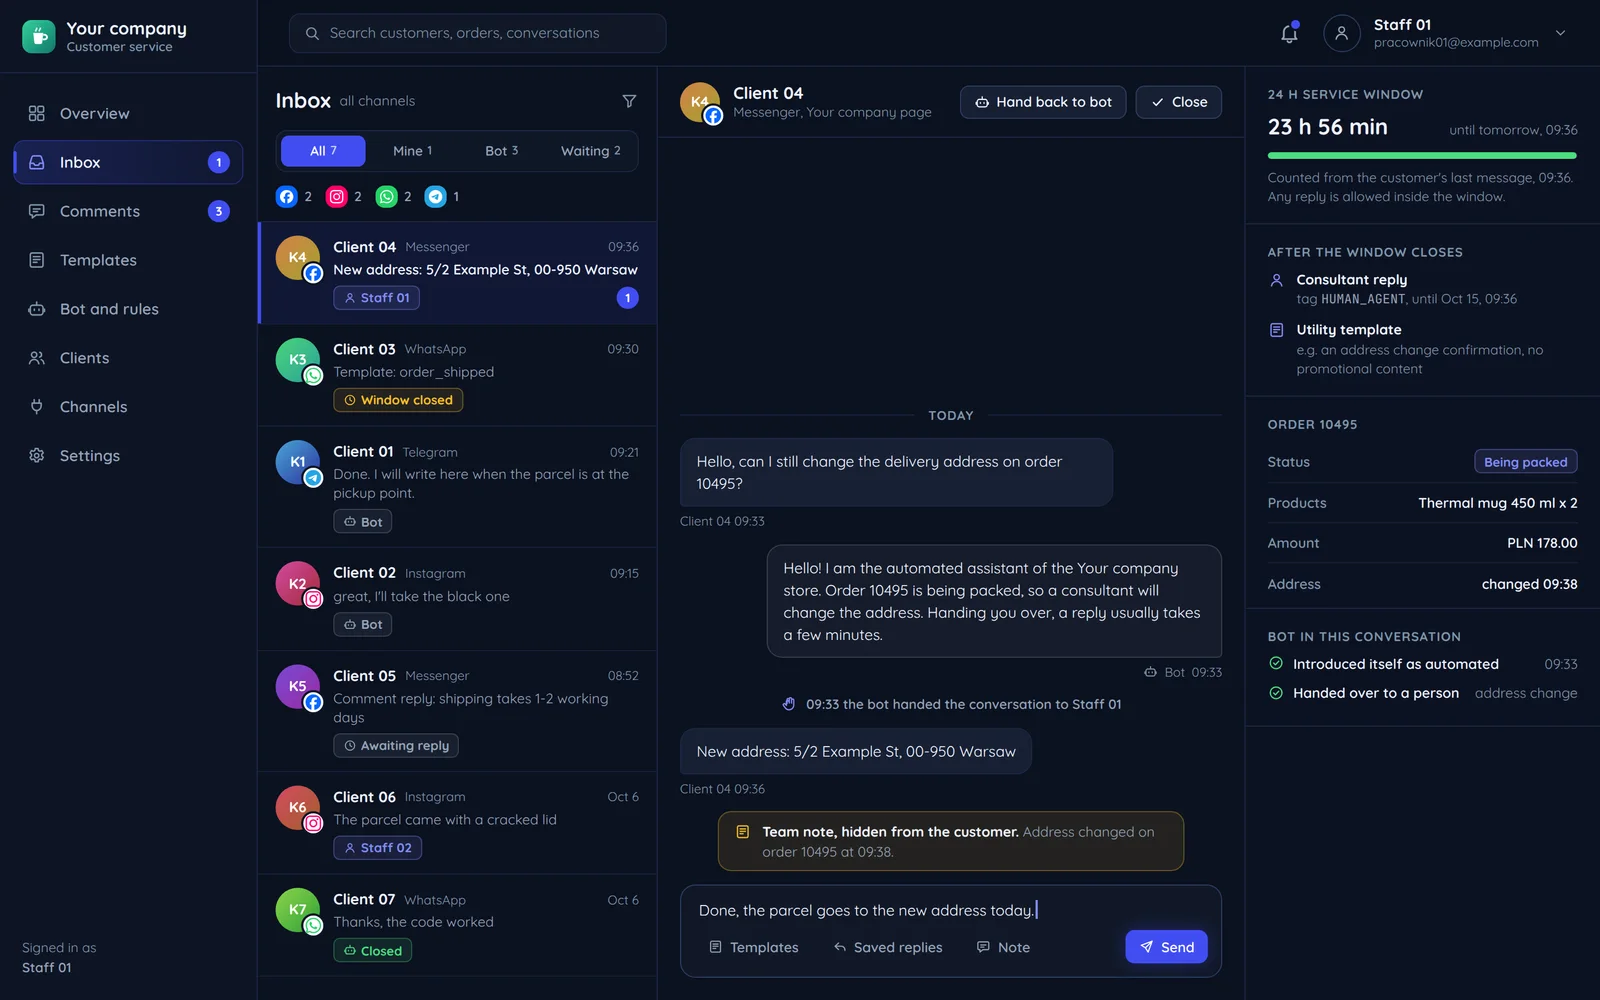

The customer picks a parcel locker on the Geowidget map at checkout, and the locker code, KRA010 for example, is saved with the order. The map runs on a public token from InPost's Parcel Manager, separate from the ShipX API token, so the page source holds no key that could ship a parcel.
Where the ShipX shipment gets its data
| Shipment field | Source in the store |
|---|---|
| recipient phone and email | the order form |
| destination locker | the map at checkout |
| size template, or dimensions and weight | the products in the order |
| shipment description (reference) | the order number |
| sender | the organisation's details in Parcel Manager |
The label comes once the shipment is paid
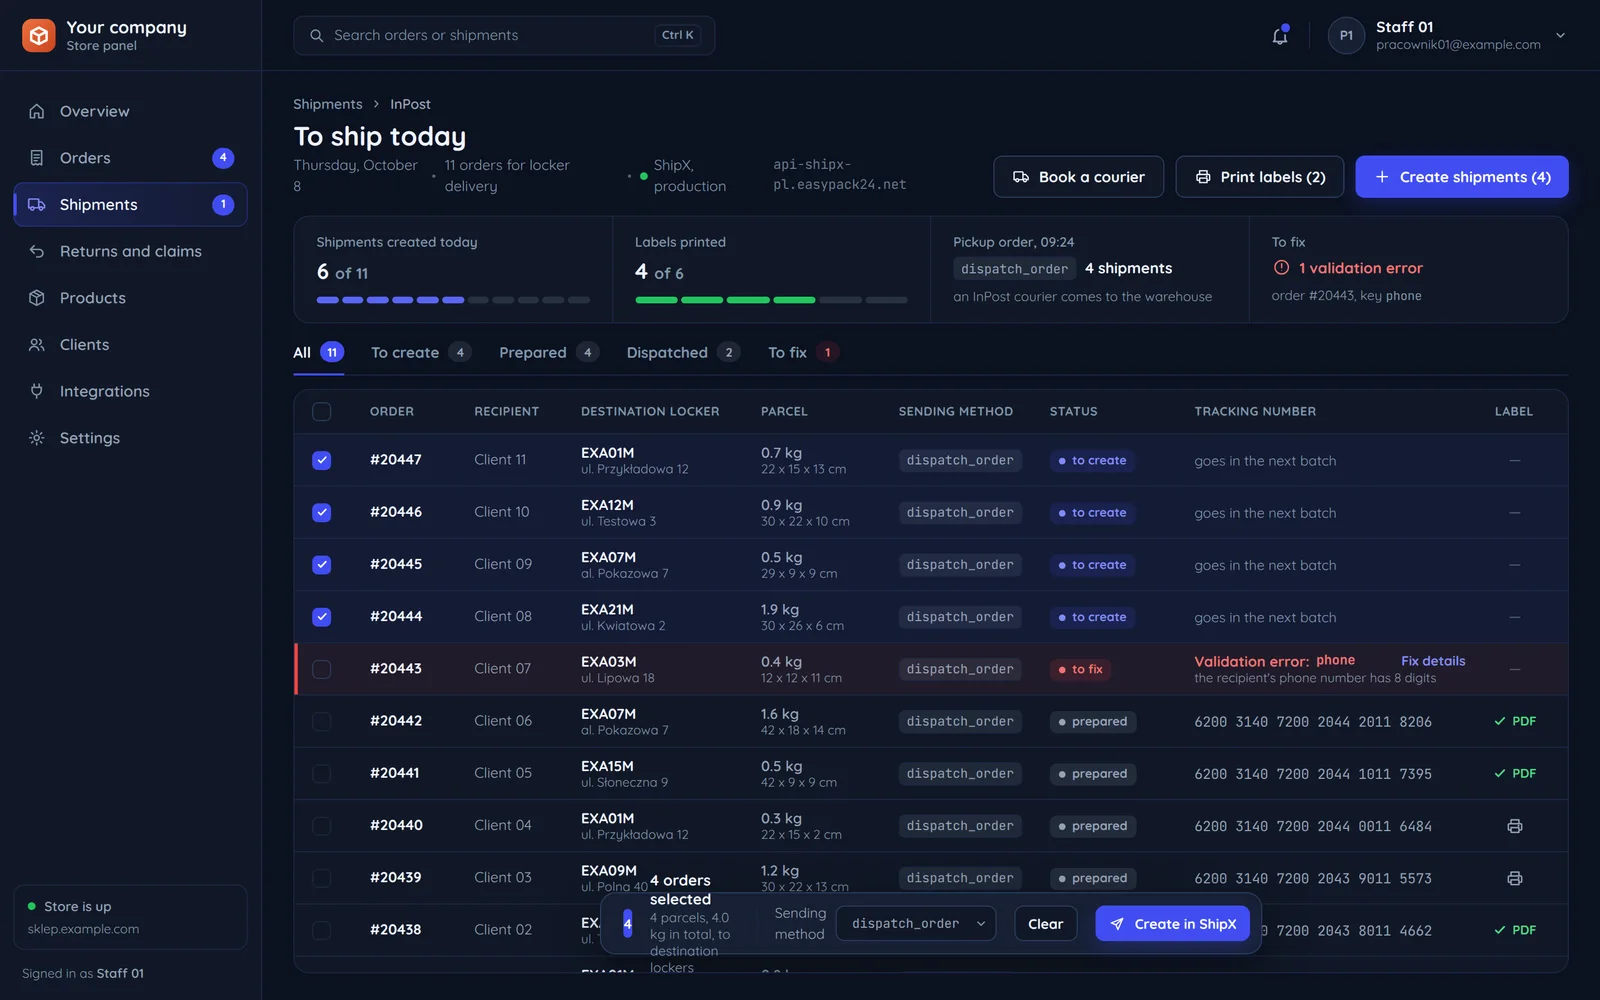
ShipX is asynchronous: InPost prepares and pays an offer after the shipment is created, and the label can only be fetched once it reaches confirmed. The warehouse prints it as a PDF on an ordinary printer, or as ZPL or EPL on a label printer, in A6 or normal format, with up to 100 shipments in one file. A validation error comes back naming the field and the problem, so staff fix, say, the recipient's phone number and create the shipment again. Courier pickups are booked from the store panel as a ShipX pickup order.
Status changes arrive by webhook, accepted only from InPost's 91.216.25.0/24 range. The customer sees the status in their account and by email, and an uncollected parcel on its way back to the sender shows up for staff before the customer asks.
The step-by-step code is in our InPost ShipX API guide, and the store rollout on our InPost integration page.
Was this post helpful?